
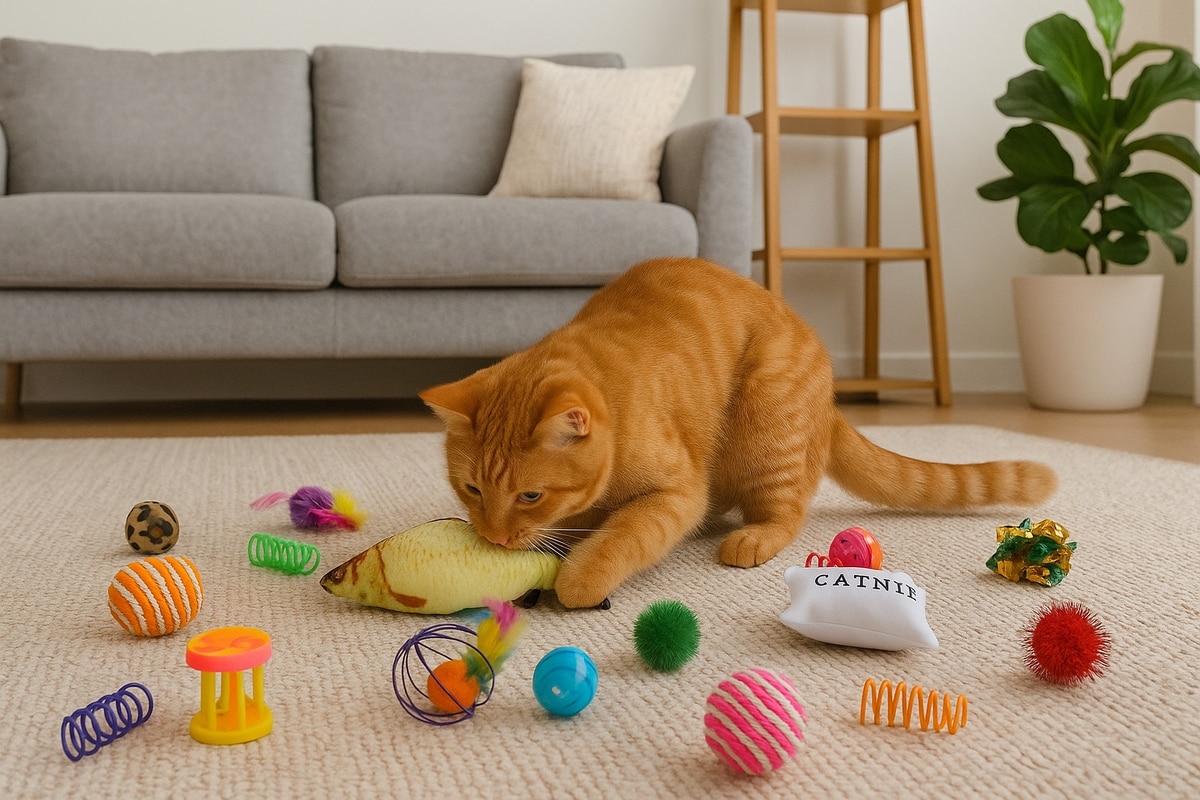
Cat toys have a way of spreading throughout the house. One moment, your cat is happily chasing a fabric mouse across the living room. The next, colorful balls, plush toys, and little stuffed animals are scattered beneath the sofa, around the hallway, and beside the furniture. A handmade cat toy storage basket provides a practical place to keep these accessories organized between play sessions.
Learning how to sew a DIY cat toy storage basket is a useful beginner-friendly project. With durable canvas, washable lining, and flexible interfacing, you can create a lightweight basket that stands upright when filled and folds flat when you need to store it.
This tutorial explains how to measure, cut, assemble, and customize a collapsible fabric basket with reinforced handles. It also includes practical tips for choosing materials, cleaning the basket, and keeping your cat’s play area organized.
If you enjoy sewing accessories for your pets, explore our Sewing Projects collection and eco-friendly pet sewing ideas for more inspiration.
Why Make a Cat Toy Storage Basket?
Indoor cats benefit from opportunities to play, explore, and interact with their surroundings. Keeping toys organized makes it easier for owners to rotate playthings and find appropriate accessories when it is time for an activity.
A dedicated storage basket can also help prevent small toys from becoming lost beneath furniture. Instead of searching through several rooms, you can keep washable plush toys, soft balls, and other suitable accessories together.
The ASPCA’s cat care resources provide general information about creating a suitable environment for cats. A practical toy organization system can support everyday routines, although the basket itself is simply a household storage accessory.
For safety, use the finished basket as a storage container rather than an unsupervised cat toy. Avoid allowing your cat to chew the handles, lining, or decorative attachments.
Benefits of Sewing Your Own Fabric Storage Basket
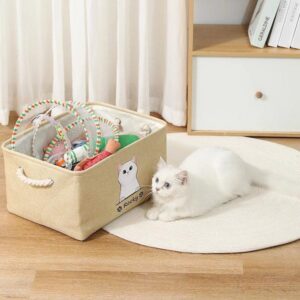 Commercial storage containers are widely available, but sewing your own offers greater flexibility. You can choose the dimensions, fabric, colors, and handle style to match the space where your cat’s toys are kept.
- Customize the basket for your available shelf or floor space.
- Choose washable fabrics for easier cleaning.
- Add reinforced handles for convenient carrying.
- Use flexible interfacing to support a collapsible design.
- Coordinate the basket with your home decor.
- Repurpose fabric remnants from other sewing projects.
- Fold the basket flat when it is empty.
- Create separate baskets for different types of toys.
Because this project does not require complicated closures or hardware, it is also a useful way to practice basic seams, boxed corners, topstitching, and fabric layering.
Choosing the Best Fabric for a Cat Toy Storage Basket
The outer fabric should provide enough structure to help the basket stand upright. The lining should be easy to clean and smooth enough that small toys do not become caught on loose threads.
Cotton Canvas
Cotton canvas is a practical choice for the exterior because it is durable, available in many colors, and generally easy to sew with a suitable needle. Medium-weight canvas provides a good balance between flexibility and structure.
Prewash the fabric before cutting if you plan to machine wash the finished basket.
Heavy Cotton Twill
Cotton twill is another useful option. Its diagonal weave provides durability, and it can create a slightly softer basket than stiff canvas.
Quilting Cotton
Quilting cotton works well for the lining or decorative exterior. However, it usually needs additional interfacing if you want the basket to maintain its shape.
Repurposed Denim
Old denim jeans can provide sturdy fabric for a smaller storage basket. Remove bulky seams and worn areas before cutting your pattern pieces.
Repurposing suitable household fabric also fits the ideas discussed in our sustainable pet sewing guide.
How to Make the Basket Collapsible
The key to a collapsible fabric basket is using flexible support rather than rigid inserts. Heavy cardboard, hard plastic panels, or wooden supports may make a container more difficult to fold and clean.
Flexible fusible interfacing helps reinforce fabric while allowing it to bend. For a basket that folds more easily, choose a lightweight or medium-weight product rather than very stiff craft stabilizer.
Another option is flexible sew-in stabilizer. The best choice depends on your fabric thickness, sewing machine, and preferred finished shape.
Remember that a collapsible basket will not remain perfectly rigid. Its sides may soften or lean slightly when it is empty, especially after repeated washing.
Materials You Will Need
- Medium-weight canvas or cotton twill
- Coordinating cotton lining fabric
- Flexible fusible or sew-in interfacing
- Matching all-purpose thread
- Sewing machine
- Universal or denim sewing-machine needle
- Fabric scissors or rotary cutter
- Measuring tape or quilting ruler
- Fabric marker or tailor’s chalk
- Sewing clips or pins
- Iron and ironing board
- Optional cotton webbing for handles
Before cutting, confirm that your fabric, interfacing, and handle materials have compatible care instructions. Some stabilizers require gentle washing or air drying.
Choosing the Right Basket Size
The ideal size depends on how many toys you want to store and where the basket will sit. A small basket can fit on a shelf, while a medium-sized version may work better beside a cat tree or living room cabinet.
For this tutorial, we will make a basket approximately 10 inches wide, 8 inches deep, and 8 inches tall.
These dimensions are only a starting point. You can adjust the pattern to create a larger or smaller version.
Example Cutting Measurements
For a basket with a finished base of approximately 10 by 8 inches and a height of 8 inches, cut the following:
- Two outer fabric rectangles measuring 19 by 13 inches
- Two lining rectangles measuring 19 by 13 inches
- Two matching interfacing rectangles, adjusted for the manufacturer’s instructions
- Two handle strips measuring 12 by 3 inches
These measurements use a half-inch seam allowance and 4-inch square corner cutouts. The resulting boxed base will be approximately 10 by 8 inches. The upper height will be close to 8 inches after the top seam is finished.
Step-by-Step Cat Toy Storage Basket Sewing Instructions
Step 1: Prepare the Fabric
Wash and dry the outer fabric and lining if appropriate. Press both materials to remove wrinkles.
Place the fabric on a clean cutting surface and check the grain direction before measuring. If you are using patterned material, decide which direction the print should face on the finished basket.
Step 2: Cut the Outer Panels
Cut two matching outer fabric rectangles using the measurements above. Keep the edges straight and the corners square.
If you are working with canvas, use sharp fabric scissors or a rotary cutter to reduce uneven edges.
Step 3: Apply the Interfacing
Follow the interfacing manufacturer’s instructions to attach the stabilizer to the wrong side of each outer panel. If using fusible interfacing, test the iron temperature on a small scrap first.
Allow the fabric to cool completely before moving it. This helps the adhesive set properly.
Step 4: Sew the Outer Basket
Place the two outer panels right sides together. Sew along the two side edges and the bottom edge using a half-inch seam allowance.
Leave the top open. Press the seams carefully, then finish the raw edges with a zigzag stitch or serger if desired.
Step 5: Create the Boxed Corners
At each lower corner, mark a 4-inch square measured from the raw edges. Cut away the marked squares.
Open one cut corner and bring the side seam and bottom seam together. Align the raw edges, pin or clip them, and sew across the opening with a half-inch seam allowance.
Repeat on the opposite corner. These boxed corners create the rectangular base that allows the basket to stand upright.
Step 6: Sew the Lining
Place the lining rectangles right sides together. Sew the side seams and most of the bottom seam, leaving an opening approximately 4 inches wide for turning.
Create the boxed corners using the same method as the outer basket.
Do not close the turning opening yet.
Step 7: Make the Fabric Handles
Fold each handle strip in half lengthwise with the wrong sides together and press. Open the strip, fold both long edges toward the center crease, and press again.
Fold the strip along the original center crease to enclose the raw edges. Topstitch along both long sides.
Repeat for the second handle. The finished handles should be sturdy but flexible.
Step 8: Position the Handles
Turn the outer basket right side out. Mark the center of each shorter side panel.
Position one handle on each side, keeping both ends evenly spaced around the center mark. The handle loop should point downward against the outside of the basket before the lining is attached.
Baste the handle ends in place within the seam allowance. Make sure the handles are not twisted.
Step 9: Attach the Lining
Place the outer basket inside the lining so the right sides face each other. Align the upper raw edges and side seams.
Clip around the top opening, making sure the handles remain between the fabric layers.
Sew around the upper edge with a half-inch seam allowance.
Step 10: Turn the Basket Right Side Out
Reach through the opening left in the lining and carefully pull the outer basket through.
Push the lining into the basket and smooth the corners. Close the lining opening with a narrow machine stitch or hand stitching.
Step 11: Press and Topstitch
Press the upper edge so the lining sits neatly inside the basket. Topstitch around the rim approximately one-quarter inch from the edge.
For extra handle reinforcement, add another line of stitching across the handle attachment areas.
Step 12: Test the Collapsible Design
Place the basket upright and gently shape the corners. The interfacing should provide enough support for the basket to hold its general shape.
To fold it, press the side panels inward and flatten the basket along its natural seams. Avoid forcing stiff interfacing into sharp folds.
How to Make the Handles Stronger
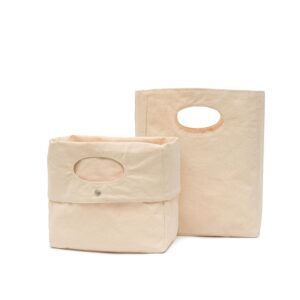 Handles receive repeated stress whenever you move the basket, particularly when it contains several toys.
Reinforce the attachment points with additional stitching. You can also use cotton webbing instead of handmade fabric strips if you prefer a simpler construction method.
Do not make the handles excessively long. Short handles are less likely to hang loosely where a curious cat could become tangled.
Once your basket is complete, sort your cat’s toys into groups. This makes it easier to locate suitable playthings and identify damaged items.
For example, you can keep soft fabric mice together, place washable balls in a separate section, and store larger plush toys near the bottom.
Interactive wand toys, strings, ribbons, and toys with loose parts should be stored securely out of reach when not in use rather than left accessible in an open basket.
The Humane World for Animals website provides broader resources on companion animal care and enrichment.
Try Rotating Your Cat’s Toys
Instead of leaving every toy available all the time, consider setting aside some toys and periodically changing which ones you offer.
This can help you manage clutter while giving your cat opportunities to interact with different objects and activities.
Observe your cat’s preferences. Some cats enjoy lightweight balls, while others prefer soft fabric mice or interactive games with their owners.
If your cat enjoys food-based enrichment, our DIY snuffle mat tutorial offers another handmade activity to explore.
How to Wash the Storage Basket
Fabric baskets can collect fur, dust, and dirt, especially when placed directly on the floor.
Before washing, empty the basket and shake out loose debris. Use a lint roller or vacuum attachment to remove remaining fur.
Wash according to the care requirements of the outer fabric, lining, and interfacing. Some collapsible baskets may tolerate a gentle machine cycle, while others require hand washing.
- Remove all toys before cleaning.
- Shake out dust and loose fur.
- Spot clean small stains promptly.
- Follow the fabric and interfacing care instructions.
- Allow the basket to dry completely.
- Reshape the corners before storing toys.
Inspect the handles and seams after washing. Repair any loose stitching before using the basket again.
Common Sewing Mistakes to Avoid
Several small construction mistakes can affect the basket’s appearance or usefulness.
- Choosing interfacing that is too stiff to fold.
- Forgetting to prewash shrink-prone fabric.
- Cutting mismatched outer and lining panels.
- Failing to reinforce the handles.
- Using an inconsistent seam allowance.
- Making the basket too large for the intended space.
- Adding loose decorations that pets may chew.
- Leaving the lining turning opening unfinished.
Test the pattern with inexpensive fabric if you are unsure about the finished dimensions. A sample can help you adjust the height, base size, and handle placement before using your preferred material.
Creative Ways to Customize Your Cat Toy Basket
Add a Contrasting Lining
Choose a colorful cotton lining that complements the neutral outer fabric. Folding the upper edge outward slightly can reveal the contrasting material.
Create a Reversible Basket
Use two coordinating fabrics and finish the seams neatly so either side can face outward. Keep the handles and interfacing compatible with the reversible construction.
Make Matching Storage Baskets
Create a larger basket for plush toys and a smaller version for lightweight balls. Matching baskets can help keep a living room or pet area organized.
Use Repurposed Fabric
Old denim, clean canvas bags, and sturdy cotton remnants may be suitable for the exterior. Reusing appropriate materials can reduce waste and lower the cost of the project.
Where to Place Your Finished Basket
Choose a convenient location where you can easily collect toys after play sessions. A shelf, cabinet, or quiet corner of the living room may work well.
If your cat likes chewing fabric or playing with handles, keep the basket out of reach when you are not supervising.
Avoid placing the basket where it could block walkways, doors, or access to litter boxes and food stations.
For households with several pets, consider keeping toys organized separately when their play preferences or safety needs differ.
More DIY Projects for Cat Owners
After completing your cat toy storage basket, explore these related sewing projects:
- How to Sew a Hanging Cat Hammock
- DIY Snuffle Mat for Dogs and Cats
- Eco-Friendly Pet Sewing Projects
- DIY Travel Pet Bed
- Browse DIY Projects for Pets
- Explore DIY Sewing Tutorials
These projects can help you create a coordinated collection of handmade accessories while developing new sewing skills.
Final Thoughts
A collapsible DIY cat toy storage basket is a practical sewing project that combines organization, washable materials, and simple construction techniques. With sturdy fabric, flexible interfacing, and reinforced handles, you can create a lightweight container that fits naturally into your home.
Start with a medium-sized basket and adjust the measurements once you understand the construction. You can experiment with different fabrics, contrasting linings, and matching storage sets as your confidence grows.
Most importantly, keep the finished basket simple and safe. Avoid loose decorations, inspect the stitching regularly, and store potentially hazardous toys securely when they are not being used.
With basic sewing supplies and a little planning, you can make a reusable organizer that keeps your cat’s favorite toys together and makes everyday cleanup easier.