
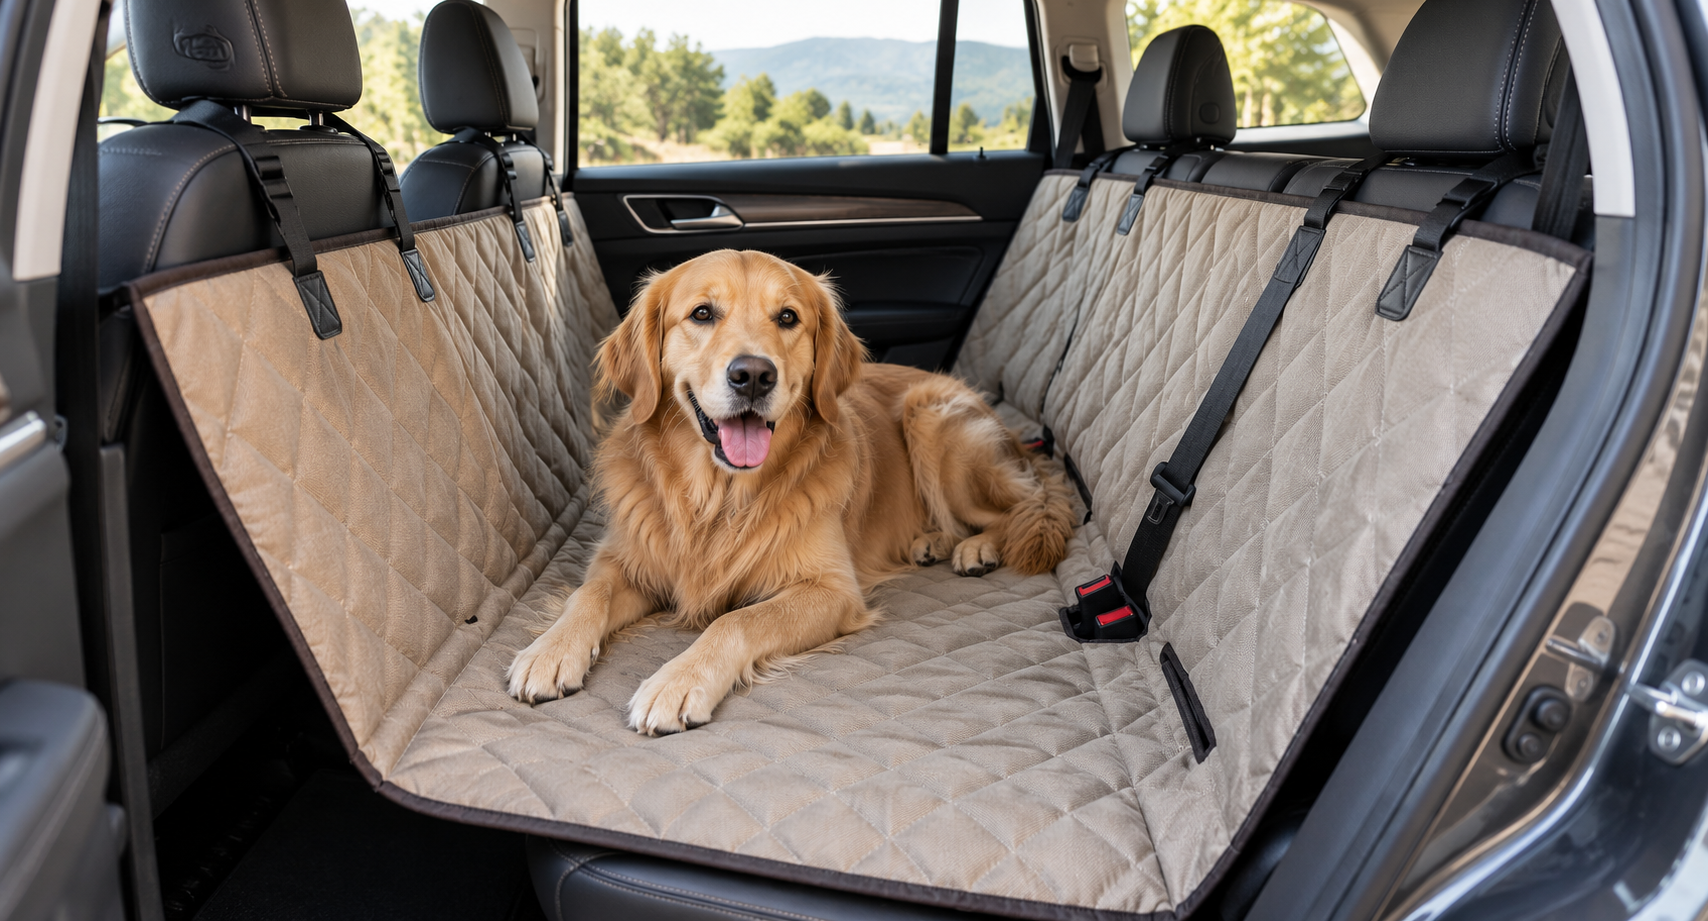
Taking your dog along for a road trip, park visit, hiking adventure, or veterinary appointment often means bringing some of the outdoors back into your vehicle. Fur, muddy paws, sand, water, and drool can quickly find their way onto the back seat. A DIY dog car seat hammock offers a practical sewing solution by creating a removable protective layer between your dog and the vehicle upholstery.
Unlike a basic blanket draped over the seat, a hammock-style cover extends from the rear headrests toward the front headrests. This provides more coverage for the seat and footwell area while giving you the opportunity to customize the dimensions for your specific vehicle.
This project is particularly useful if you already enjoy making practical pet travel accessories. It pairs naturally with your DIY travel pet bed and other projects available in the DIY for Pets collection.
One important distinction should be clear before you begin: a fabric hammock is primarily a seat protector. It should not be treated as a substitute for appropriate vehicle restraint equipment. Guidance from the American Kennel Club recommends securing dogs during vehicle travel with appropriate safety equipment such as a carrier or safety harness.
Why Sew Your Own Dog Car Seat Hammock?
Commercial car covers are widely available, but vehicle interiors vary considerably. A cover that works perfectly in one SUV may bunch, sag, or leave exposed upholstery in another vehicle.
Making your own lets you measure the actual rear bench, headrest positions, and distance between the front and rear seats before cutting any fabric. A custom fit can be particularly useful in compact cars, trucks, and vehicles with unusually wide rear benches.
Recent testing by Car and Driver highlighted fit, durable easy-to-clean materials, non-slip backing, and washability as useful characteristics when evaluating dog car seat covers.
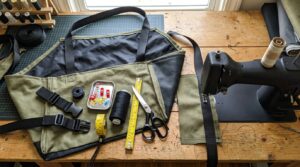 Benefits Of A Handmade Car Hammock
- Customize the dimensions for your vehicle.
- Select washable, durable fabric.
- Add a moisture-resistant inner layer.
- Reinforce high-stress attachment points.
- Add openings where your vehicle needs them.
- Choose fabric that coordinates with your car interior.
- Remove the cover for easier cleaning.
- Repair individual straps or seams when necessary.
If you have fabric left over after completing this project, smaller pieces may be useful for your waterproof dog bowl mat or another project from the Sewing Projects collection.
Choosing Fabric For A Dog Car Seat Hammock
The ideal fabric depends on how your dog travels. A small dog with clean paws presents different challenges from a large dog returning from a muddy hiking trail. In either case, the top layer should withstand claws, movement, fur, and frequent cleaning.
Canvas
Canvas is durable and readily available. A medium-to-heavy canvas provides enough structure to remain relatively flat across the rear bench while still being manageable on many home sewing machines.
Outdoor Upholstery Fabric
Outdoor fabrics can work well because many are designed for durability and easier cleaning. A detailed Sailrite DIY dog car seat cover tutorial recommends considering abrasion-resistant, easy-to-clean fabric for this type of project.
Water-Resistant Inner Layer
If your dog frequently returns from wet walks or beach trips, consider adding a water-resistant barrier between the outer fabric and backing. Make sure the material remains suitable for the laundering method you intend to use.
Non-Slip Backing
A grippy backing can help reduce movement against the upholstery. Before selecting any rubberized or coated material, check the manufacturer’s instructions to ensure it is compatible with your vehicle upholstery and washing method.
Materials You Will Need
- Durable canvas or outdoor fabric
- Optional water-resistant lining
- Optional non-slip backing fabric
- Polyester or heavy-duty sewing thread
- Polyester or polypropylene webbing
- Four adjustable side-release buckles
- Sewing machine
- Appropriate heavy-duty sewing-machine needle
- Fabric scissors or rotary cutter
- Measuring tape
- Fabric marker or tailor’s chalk
- Sewing clips
- Seam binding or bias tape if desired
Measure Your Vehicle Before Cutting
Do not rely on generic measurements. Measure your own vehicle because rear seats and headrest locations vary.
Start by measuring the width of the rear bench at its widest usable point. Next, measure from the base of the rear headrests down across the rear seat and forward toward the front headrests. Follow the path the finished hammock will take rather than measuring in a straight horizontal line.
Also measure the circumference around each headrest where the attachment straps will sit.
Record These Measurements
- Rear bench width
- Rear seat-back height
- Rear seat depth
- Distance across the footwell
- Height to the front headrest attachment points
- Headrest circumferences
- Locations of seat-belt buckles and restraint anchor points
Add appropriate seam allowances to your fabric measurements before cutting.
Plan Your Seat-Belt And Restraint Access
This step deserves special attention. The hammock must not prevent access to whatever restraint system you use for your dog or block equipment needed by human passengers.
The AKC’s dog car safety guidance recommends that dogs ride in a crate or be secured with appropriate vehicle safety equipment rather than riding loose.
Mark the relevant buckle or anchor locations while the fabric is temporarily positioned over the rear seat. Any access opening should be finished securely so the fabric does not fray.
Do not sew a homemade tether into the hammock and assume it functions as crash protection. Keep the protective seat cover and your dog’s vehicle restraint system separate.
Step-By-Step Dog Car Seat Hammock Sewing Instructions
Step 1: Make A Simple Pattern
Transfer your vehicle measurements to paper or inexpensive test fabric before cutting your final material. This is especially helpful if your rear bench has unusual contours.
Mark the front edge, rear edge, driver’s side, and passenger side so you do not accidentally reverse the layout.
Step 2: Cut The Main Fabric
Cut the outer fabric according to your measurements. If you are using separate layers for water resistance and backing, cut matching pieces.
Large projects can shift while cutting, so spread the material on a clean floor or large table whenever possible.
Step 3: Layer The Fabrics
Lay the backing with its wrong side facing upward, position the water-resistant layer if you are using one, and place the outer fabric on top.
Clip the layers together around the perimeter. Avoid using pins through coated waterproof material if punctures could compromise its performance.
Step 4: Quilt Or Stabilize The Layers
If your hammock uses multiple layers, sew several long horizontal or vertical lines across the project. This helps keep the layers from shifting during installation and washing.
You can create simple rectangles or a larger diamond pattern. Keep the quilting uncomplicated because the primary goal is stability rather than decoration.
Step 5: Finish The Perimeter
Trim uneven edges and finish the perimeter with binding or a sturdy double-fold hem. Rounded corners can make binding easier and reduce bulky points.
Sew slowly through thick areas. If your machine struggles, use an appropriate needle and follow the machine manufacturer’s recommendations for heavier fabrics.
Step 6: Cut And Prepare The Headrest Straps
Cut four lengths of webbing according to your headrest measurements, leaving enough extra length for adjustment and buckle installation.
Finish the raw webbing ends according to the manufacturer’s instructions so they do not fray.
Step 7: Attach The Rear Straps
Position two straps along the rear edge of the hammock where they align with the back-seat headrests.
Reinforce each attachment point thoroughly. A box-and-X stitching pattern distributes stress across a larger area than a single straight seam.
Step 8: Attach The Front Straps
Repeat the process at the forward edge of the hammock, aligning the straps with the front-seat headrests.
Install adjustable buckles so you can fine-tune the hammock after placing it in the vehicle.
Step 9: Finish The Restraint Access Openings
Using the marks made during your fitting test, carefully create only the openings you actually need. Finish each opening like a strong buttonhole or bound slit so repeated use does not cause the fabric to tear.
Check that the openings line up correctly before making permanent cuts.
Step 10: Install And Adjust The Hammock
Place the finished cover across the rear seat. Secure the rear straps first and then connect the front straps.
Adjust the webbing until the cover rests securely without pulling excessively on the headrests. The hammock portion should span the footwell without becoming drum-tight.
Test The Cover Before Traveling With Your Dog
Before your dog enters the vehicle, push firmly against several areas of the installed cover. Check whether it slides, bunches, or pulls excessively at the strap attachment points.
Inspect all four reinforced strap areas. If you notice stretching or skipped stitches, repair them before use.
Next, verify that doors close normally, seat belts remain accessible where required, and your dog’s separate restraint equipment can be used exactly as intended.
A Car Hammock Is Not A Safety Harness
A hammock-style seat protector can help keep upholstery cleaner, but its fabric and headrest straps are not designed to replace tested restraint equipment.
The AKC’s guide to traveling with dogs recommends using a dog seat belt, car seat, safety harness, or appropriate crate during vehicle travel.
Think of your sewing project as the washable protective layer beneath or around the dog. Vehicle restraint remains a separate safety consideration.
Make The Hammock Easier To Clean
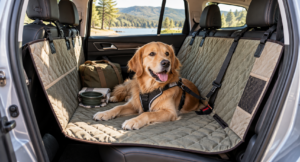 Washability is one of the most useful features you can build into this project. Dogs may bring mud, sand, grass, fur, and moisture into the vehicle, so choose materials that match the cleaning routine you are realistically willing to maintain.
- Vacuum loose fur before washing.
- Shake dried dirt outdoors.
- Wipe small muddy areas between full washes.
- Fasten buckles before machine washing if recommended.
- Use the washing method appropriate for every fabric layer.
- Allow the cover to dry completely before reinstalling it.
If the outer surface is dirty but the entire hammock does not need washing, spot cleaning can extend the time between full wash cycles.
Add Optional Door Protectors
Dogs that enjoy looking through side windows may place muddy paws against the interior doors. You can use leftover fabric to make two removable door panels.
Measure only the upholstered area you want to protect. Bind the panel edges and choose an attachment method that does not interfere with door handles, windows, airbags, locks, or other vehicle equipment.
Vehicle designs vary, so avoid attaching anything around areas marked for side-curtain or seat-mounted airbags.
Make A Split Version For Human Passengers
If people regularly share the rear seat with your dog, consider creating a narrower hammock that protects only one portion of the bench.
Another option is a two-piece design. A removable section can be detached when a passenger needs the seat while the remaining portion continues protecting the dog’s area.
This requires more measuring and edge finishing, but it can make the project more practical for a family vehicle.
Common Dog Car Hammock Sewing Mistakes
- Using generic dimensions instead of measuring the vehicle
- Forgetting to reinforce the headrest strap attachment points
- Making the hammock too tight across the footwell
- Blocking seat-belt or restraint access
- Using fabric that cannot be cleaned easily
- Assuming the hammock itself is crash protection
- Adding loose straps where a dog could chew them
- Cutting restraint openings before testing the fit
Take the project back to the vehicle several times while sewing. Test fitting may seem inconvenient, but correcting an attachment point before finishing the cover is much easier than rebuilding it later.
Preparing Your Dog For Road Trips
The seat protector is only one part of traveling comfortably with a dog. If your dog is unfamiliar with car travel, introduce the vehicle gradually rather than beginning with a long trip.
The AKC’s road-trip safety guidance recommends preparing appropriate safety equipment and bringing essentials such as water, an extra leash and collar, and relevant medical information.
You can also bring a familiar item from home. Your handmade travel pet bed can provide a familiar resting surface once you reach your destination.
Final Thoughts
A washable DIY dog car seat hammock is a larger sewing project than a bandana or treat pouch, but the finished accessory can be useful on everything from short park visits to long road trips. Custom measurements let you build the cover around your vehicle rather than trying to make a generic size fit.
Focus first on practical details: durable washable fabric, reinforced webbing attachment points, properly finished edges, useful restraint-access openings, and a fit that stays reasonably stable across the rear seat. Decorative quilting, contrasting binding, pockets, and matching accessories can come later.
Most importantly, remember what the project is designed to do. Your handmade hammock protects the vehicle interior and creates a washable surface for your dog. It does not replace a suitable carrier, crate, or vehicle restraint system. With that distinction in mind, you can create a practical handmade accessory that makes future adventures with your dog easier to clean up after.