
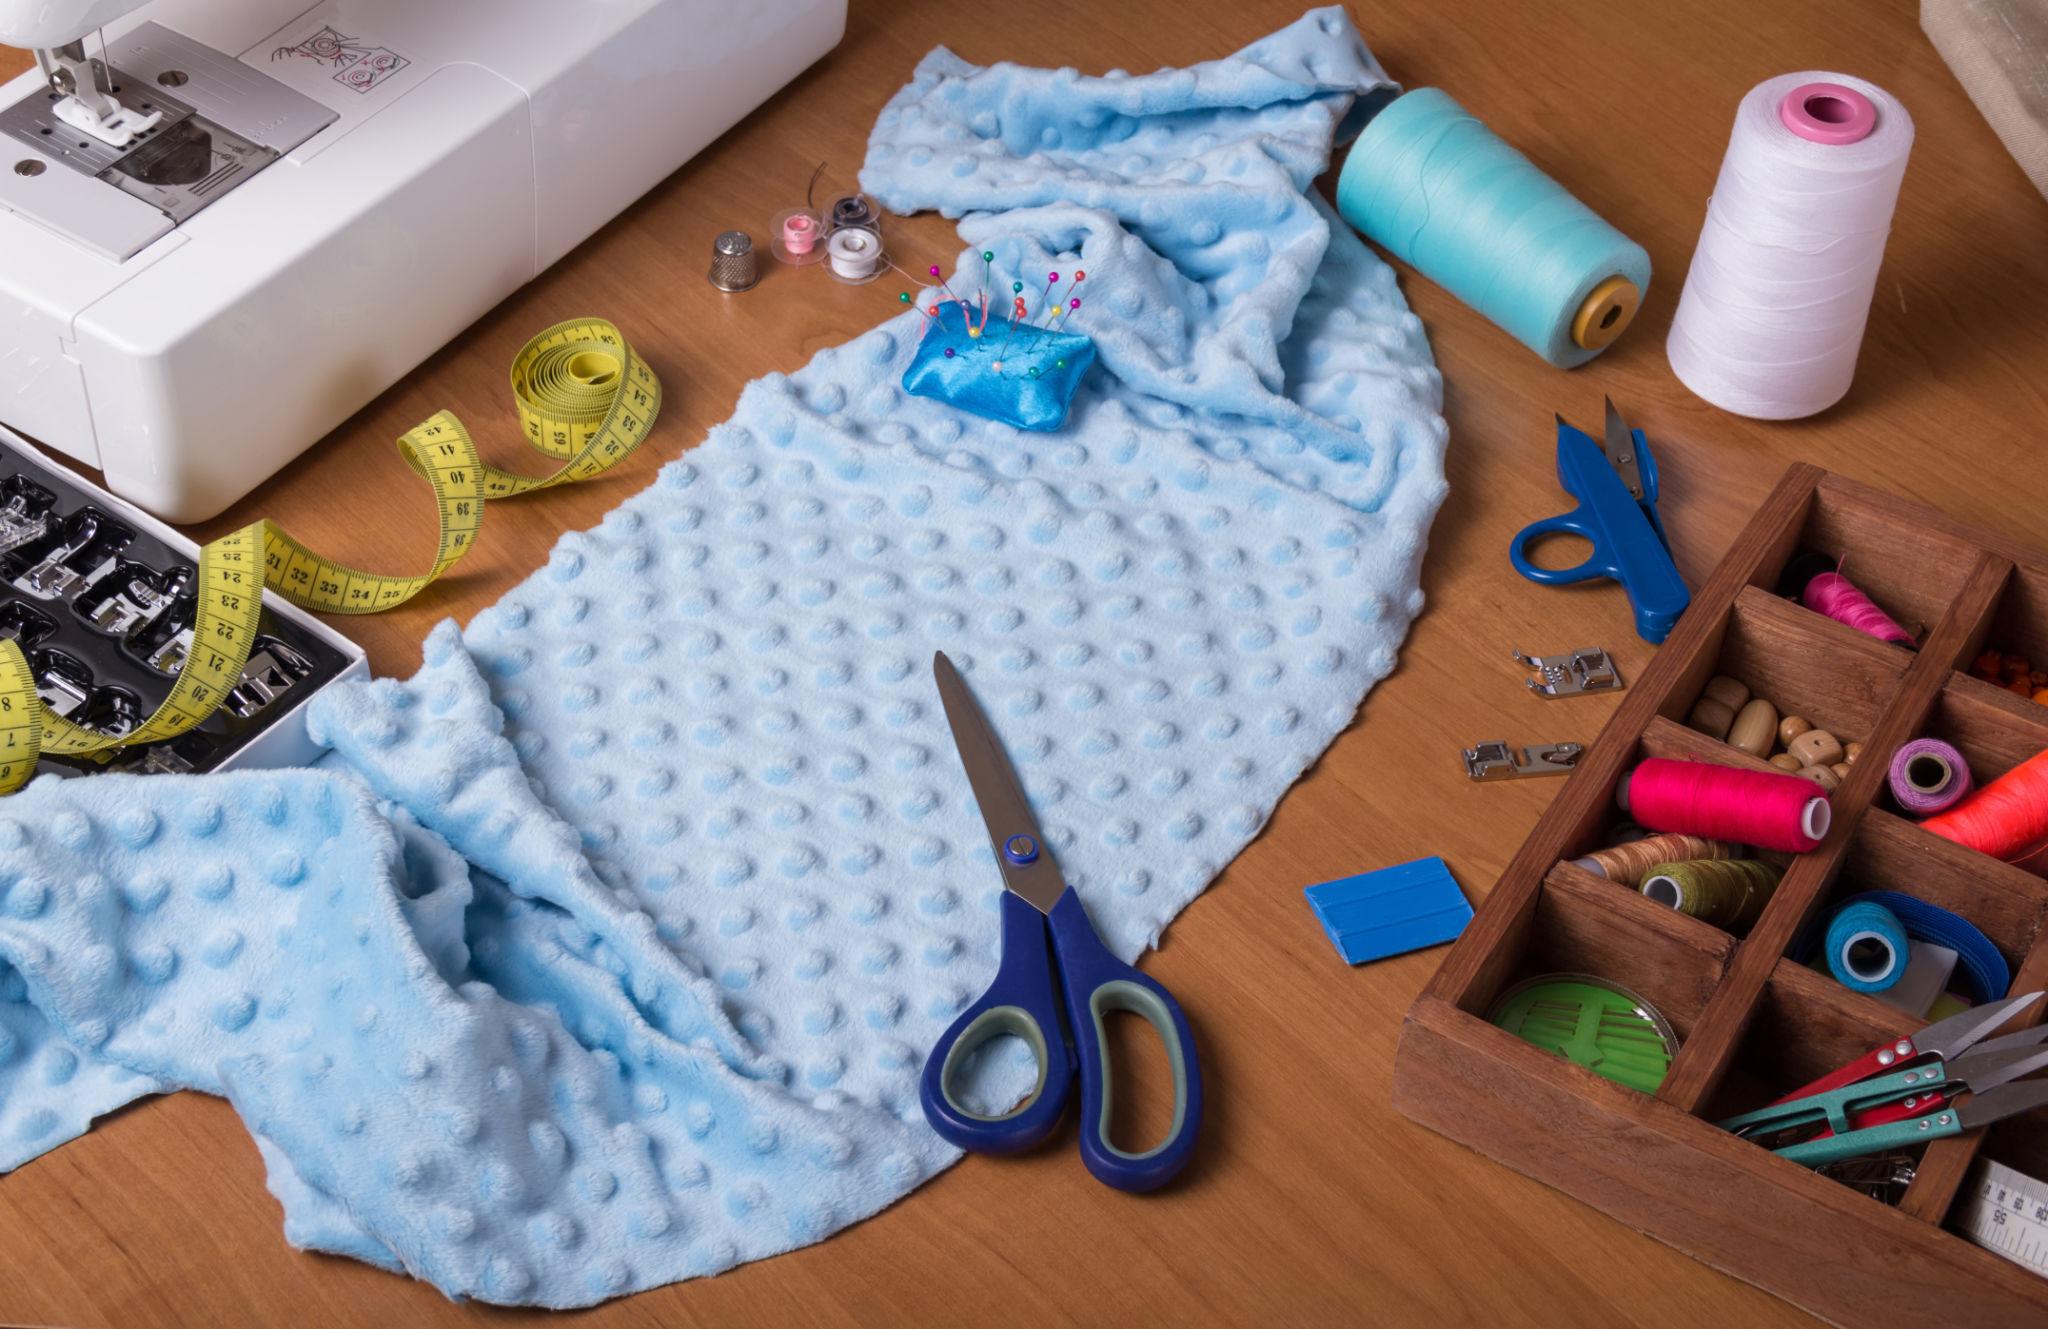
Muddy paws are part of everyday life for many dog owners. A quick walk through wet grass, a rainy neighborhood, or a dusty park can leave dirt between your dog’s toes and paw pads. Without a convenient cleaning routine, those muddy paw prints may end up across the entryway, carpet, sofa, or freshly cleaned floor.
A reusable DIY dog paw cleaning mitt is a practical sewing project that makes everyday cleanup easier. Instead of reaching for disposable wipes after every outing, you can make a soft microfiber mitt that fits comfortably over your hand and can be washed between uses.
This beginner-friendly tutorial explains how to choose suitable fabrics, measure your hand, sew a comfortable mitt, add an optional wrist cuff, and care for the finished accessory. The project also offers a useful way to repurpose clean towels and leftover fabric.
If you enjoy making practical accessories for your pets, explore our Sewing Projects collection and eco-friendly pet sewing ideas for more inspiration.
Why Make a Dog Paw Cleaning Mitt?
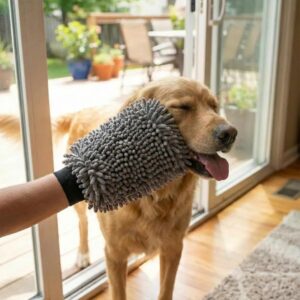 Dogs regularly encounter dirt, grass, mud, sand, and other outdoor materials during walks. Cleaning their paws before they enter the main living area can reduce the amount of debris brought indoors.
A soft cleaning mitt provides a convenient way to wipe the outer paw surfaces and gently clean around the toes. Because the fabric covers your hand, you can control the pressure and movement more easily than when holding a loose towel.
The American Kennel Club’s dog paw care resources discuss the importance of checking and caring for dogs’ paws. Routine cleaning can also provide an opportunity to notice visible irritation, debris, or injuries.
However, a cleaning mitt is not a medical treatment. If your dog has a painful paw, deep cut, persistent redness, swelling, or unusual limping, contact your veterinarian rather than repeatedly rubbing the affected area.
Benefits of Sewing Your Own Paw Cleaning Mitt
Commercial paw-cleaning products are available, but sewing your own mitt gives you control over the size, softness, fabric, and design.
- Choose gentle, washable fabric.
- Customize the mitt for your hand size.
- Add a comfortable wrist cuff.
- Use different textures on each side.
- Reduce reliance on disposable cleaning wipes.
- Repurpose suitable fabric from clean towels.
- Create several mitts for convenient rotation.
- Coordinate the design with other handmade pet accessories.
A reusable mitt can be especially convenient near an entryway. Keep one beside a washable floor mat so it is ready when you return from a walk.
Choosing the Best Fabric for a Dog Paw Cleaning Mitt
The fabric should feel soft against your dog’s skin while absorbing enough moisture to remove light dirt and mud.
Microfiber
Microfiber is a popular choice because its fine fibers can pick up moisture and small particles. A soft microfiber towel may be suitable for this project, provided it has no abrasive texture or chemical treatment.
Choose a fabric that feels smooth against your skin. Avoid rough cleaning cloths intended for heavy household scrubbing.
Cotton Terry Cloth
Terry cloth is commonly used in towels because its looped surface absorbs moisture. It can work well for gently drying damp paws after a walk.
Use soft, clean terry cloth rather than heavily worn material with loose loops that could catch on claws.
Bamboo-Blend Toweling
Some bamboo-blend toweling fabrics are soft and absorbent. Check the actual fiber composition and care instructions before choosing one, since products vary.
Cotton Jersey
Cotton jersey is flexible and comfortable, making it a possible choice for the lining. However, it may not absorb moisture as effectively as terry cloth.
For a practical combination, consider microfiber on one side and cotton terry cloth on the other.
Materials You Will Need
- Soft microfiber fabric or a clean microfiber towel
- Cotton terry cloth or another washable lining
- Coordinating polyester thread
- Sewing machine
- Universal or stretch sewing-machine needle appropriate for the fabric
- Fabric scissors or rotary cutter
- Measuring tape
- Fabric marker or tailor’s chalk
- Sewing clips or pins
- Optional soft elastic for the wrist cuff
- Optional cotton fabric for decorative binding
Prewash and dry the fabrics according to their care instructions before cutting. This helps remove manufacturing residues and reduces the chance of shrinkage after sewing.
How to Measure Your Hand for the Mitt
A paw cleaning mitt should fit comfortably over your hand without feeling tight. You need enough room to move your fingers while gently holding and wiping your dog’s paw.
Place your hand flat on a piece of paper with your fingers together and thumb relaxed beside your palm. Trace around the outline, leaving additional room for movement.
For a simple beginner design, use a rounded rectangular mitt rather than a fitted glove with separate fingers.
Suggested Beginner Measurements
For an average adult hand, a starting pattern of approximately 8 inches wide and 11 inches long may work. Adjust these measurements based on your hand size.
Add approximately half an inch for seam allowances around the sides and rounded top. The wrist opening should be wide enough for your hand to enter without pulling against the stitching.
Before cutting your final fabric, test the pattern with inexpensive cotton to confirm the fit.
Step-by-Step Dog Paw Cleaning Mitt Sewing Instructions
Step 1: Create a Simple Mitt Pattern
Draw a rounded rectangle on pattern paper. The top should have softly curved corners, while the bottom remains open for your wrist.
Mark the seam allowance around the sides and top. Label the wrist opening so you do not accidentally sew it closed.
Step 2: Cut the Outer Fabric
Place the pattern on your microfiber fabric and cut two matching pieces. If the fabric has a directional texture, keep both pieces aligned consistently.
Use sharp scissors to reduce fraying and uneven edges.
Step 3: Cut the Lining
Cut two matching pieces from the cotton terry cloth or other lining fabric. Make sure the lining pieces match the outer panels.
If your chosen materials are thick, avoid adding unnecessary batting because it may make the mitt bulky and difficult to maneuver.
Step 4: Sew the Outer Mitt
Place the microfiber panels right sides together. Sew along the sides and rounded top using your chosen seam allowance.
Leave the wrist opening unsewn. Clip the curved seam allowance carefully so the fabric turns smoothly without cutting through the stitches.
Step 5: Sew the Lining
Place the lining pieces right sides together and sew around the sides and top. Leave the wrist opening open.
For a fully enclosed lining, leave a small turning gap along one side seam. This will allow you to turn the completed mitt right side out later.
Step 6: Join the Outer Mitt and Lining
Turn the outer mitt right side out and place it inside the lining so the right sides face each other.
Align the wrist openings and side seams. Clip the layers together, then sew around the wrist edge.
Step 7: Turn the Mitt Right Side Out
Pull the outer mitt through the turning opening in the lining. Smooth the curved top and gently push the lining inside.
Close the turning gap with a narrow machine stitch or hand stitching.
Step 8: Add an Optional Elastic Cuff
If you want a snugger wrist opening, create a narrow casing around the wrist and insert soft elastic.
Measure the elastic around your wrist before sewing. It should hold the mitt in place without feeling restrictive.
Alternatively, use a simple fabric binding around the wrist for a looser fit.
Step 9: Topstitch the Wrist Opening
Topstitch around the wrist edge to keep the lining from shifting outward. Check that the opening remains comfortable when you move your hand.
Step 10: Inspect the Finished Mitt
Turn the mitt inside out and check every seam. Trim loose threads and inspect the fabric for rough areas.
Try the mitt on and practice gently wiping a clean surface before using it on your dog.
How to Introduce the Mitt to Your Dog
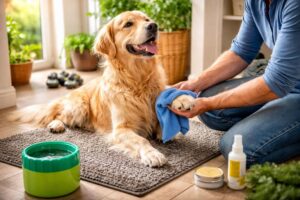 Some dogs are comfortable having their paws handled, while others may pull away or become nervous. Introduce the mitt gradually rather than immediately attempting to clean all four paws.
Let your dog sniff the clean mitt while you hold it. Offer praise or an appropriate reward for calm behavior.
Next, briefly touch the mitt to one paw without rubbing. If your dog remains relaxed, gradually increase the contact time.
Positive reinforcement can make routine handling more comfortable. The American Kennel Club’s positive reinforcement training guidance explains how rewards can encourage desired behaviors.
Stop if your dog appears distressed, growls, repeatedly pulls away, or shows signs of pain. Consider asking a veterinarian or qualified trainer for guidance if paw handling remains difficult.
How to Clean Muddy Dog Paws Safely
For light dirt, a slightly damp mitt may be enough to wipe the outer paw surfaces. Use gentle movements and avoid aggressive scrubbing.
If mud is packed between the toes, loosen it carefully with lukewarm water before wiping. Never force your fingers between painful or swollen areas.
After cleaning, dry the paws thoroughly, particularly between the toes. Excess moisture trapped against the skin can contribute to irritation in some dogs.
The VCA Animal Hospitals pet health library provides veterinary information on common pet health concerns, including skin and paw-related conditions.
When Should You Clean Your Dog’s Paws?
Not every walk requires a full cleaning session. The amount of cleaning needed depends on the weather, walking surface, and visible dirt.
Consider wiping your dog’s paws after:
- Walking through mud or wet soil
- Playing in sandy areas
- Walking on dusty paths
- Exploring wet grass
- Returning from a rainy outing
- Encountering visible dirt or debris
If your dog has walked through a potentially harmful substance, a simple dry wipe may not be sufficient. Contact your veterinarian for appropriate cleaning advice when exposure is uncertain.
How to Wash and Maintain the Paw Cleaning Mitt
Reusable cleaning accessories need regular washing because they collect dirt, moisture, and outdoor debris.
After use, rinse away visible mud and allow the mitt to dry if it cannot be washed immediately.
- Shake or rinse off loose dirt.
- Wash according to the fabric care instructions.
- Use a mild, fragrance-free detergent.
- Avoid fabric softeners that may reduce microfiber absorbency.
- Dry the mitt completely before storing it.
- Inspect seams and elastic after repeated washing.
Consider sewing two or three mitts so you always have a clean one available while the others are being washed.
Common Sewing Mistakes to Avoid
This project is relatively simple, but a few construction choices can affect the finished mitt.
- Using fabric that feels rough against the skin
- Making the wrist opening too narrow
- Adding too many thick fabric layers
- Forgetting to leave a turning opening in the lining
- Using elastic that is too tight
- Leaving loose threads near the cleaning surface
- Choosing materials that cannot be washed easily
Take your time when sewing curved seams. Smooth, reinforced stitching helps the mitt maintain its shape after repeated use.
Creative Ways to Customize Your Paw Cleaning Mitt
Make a Two-Texture Mitt
Use microfiber on one side and terry cloth on the other. This gives you two cleaning surfaces with slightly different textures.
Add a Hanging Loop
Sew a short fabric loop into the outer wrist seam so the mitt can hang near your entryway. Keep the loop short and store the mitt where pets cannot chew or become tangled in it.
Create a Matching Entryway Set
Use coordinating fabric to create a washable floor mat or small storage pouch for clean mitts.
You can also explore our waterproof dog bowl mat tutorial for additional ideas about layered washable fabric projects.
Repurpose Old Towels
Clean, soft towels can provide useful fabric for several cleaning mitts. Avoid towels with frayed edges, rough fibers, or loose loops.
Our eco-friendly pet projects guide offers more inspiration for reusing suitable materials.
Organizing Your Dog’s Cleaning Supplies
Keeping cleaning supplies near the entrance can make post-walk routines more convenient.
Consider storing clean mitts in a washable fabric basket or small cabinet. Keep used mitts separate until they can be washed.
A nearby towel can help dry paws after wiping, while a floor mat can catch remaining moisture.
If your dog regularly travels by car, you may also want to keep a spare mitt in a travel bag. This pairs naturally with your DIY travel pet bed and other handmade travel accessories.
More DIY Sewing Projects for Dog Owners
After completing your reusable dog paw cleaning mitt, explore these related projects:
- DIY Waterproof Dog Bowl Mat
- Reversible Dog Bandana Sewing Tutorial
- DIY Travel Pet Bed
- DIY Dog Cooling Mat
- Eco-Friendly Pet Sewing Projects
- Browse DIY Projects for Pets
- Explore DIY Sewing Tutorials
Final Thoughts
A reusable DIY dog paw cleaning mitt is a practical sewing project that can make everyday cleanup easier after muddy walks. With soft microfiber, absorbent terry cloth, and a comfortable hand pocket, you can create a washable accessory that is simple to use and maintain.
Start with a basic rounded mitt and adjust the dimensions to fit your hand. Once you are comfortable with the construction, experiment with two-texture designs, hanging loops, and matching entryway accessories.
Most importantly, use the mitt gently and pay attention to your dog’s comfort. Cleaning should be a calm routine rather than an uncomfortable experience.
With a little fabric and basic sewing supplies, you can make a reusable accessory that helps keep muddy paw prints under control while adding another useful project to your handmade pet collection.