
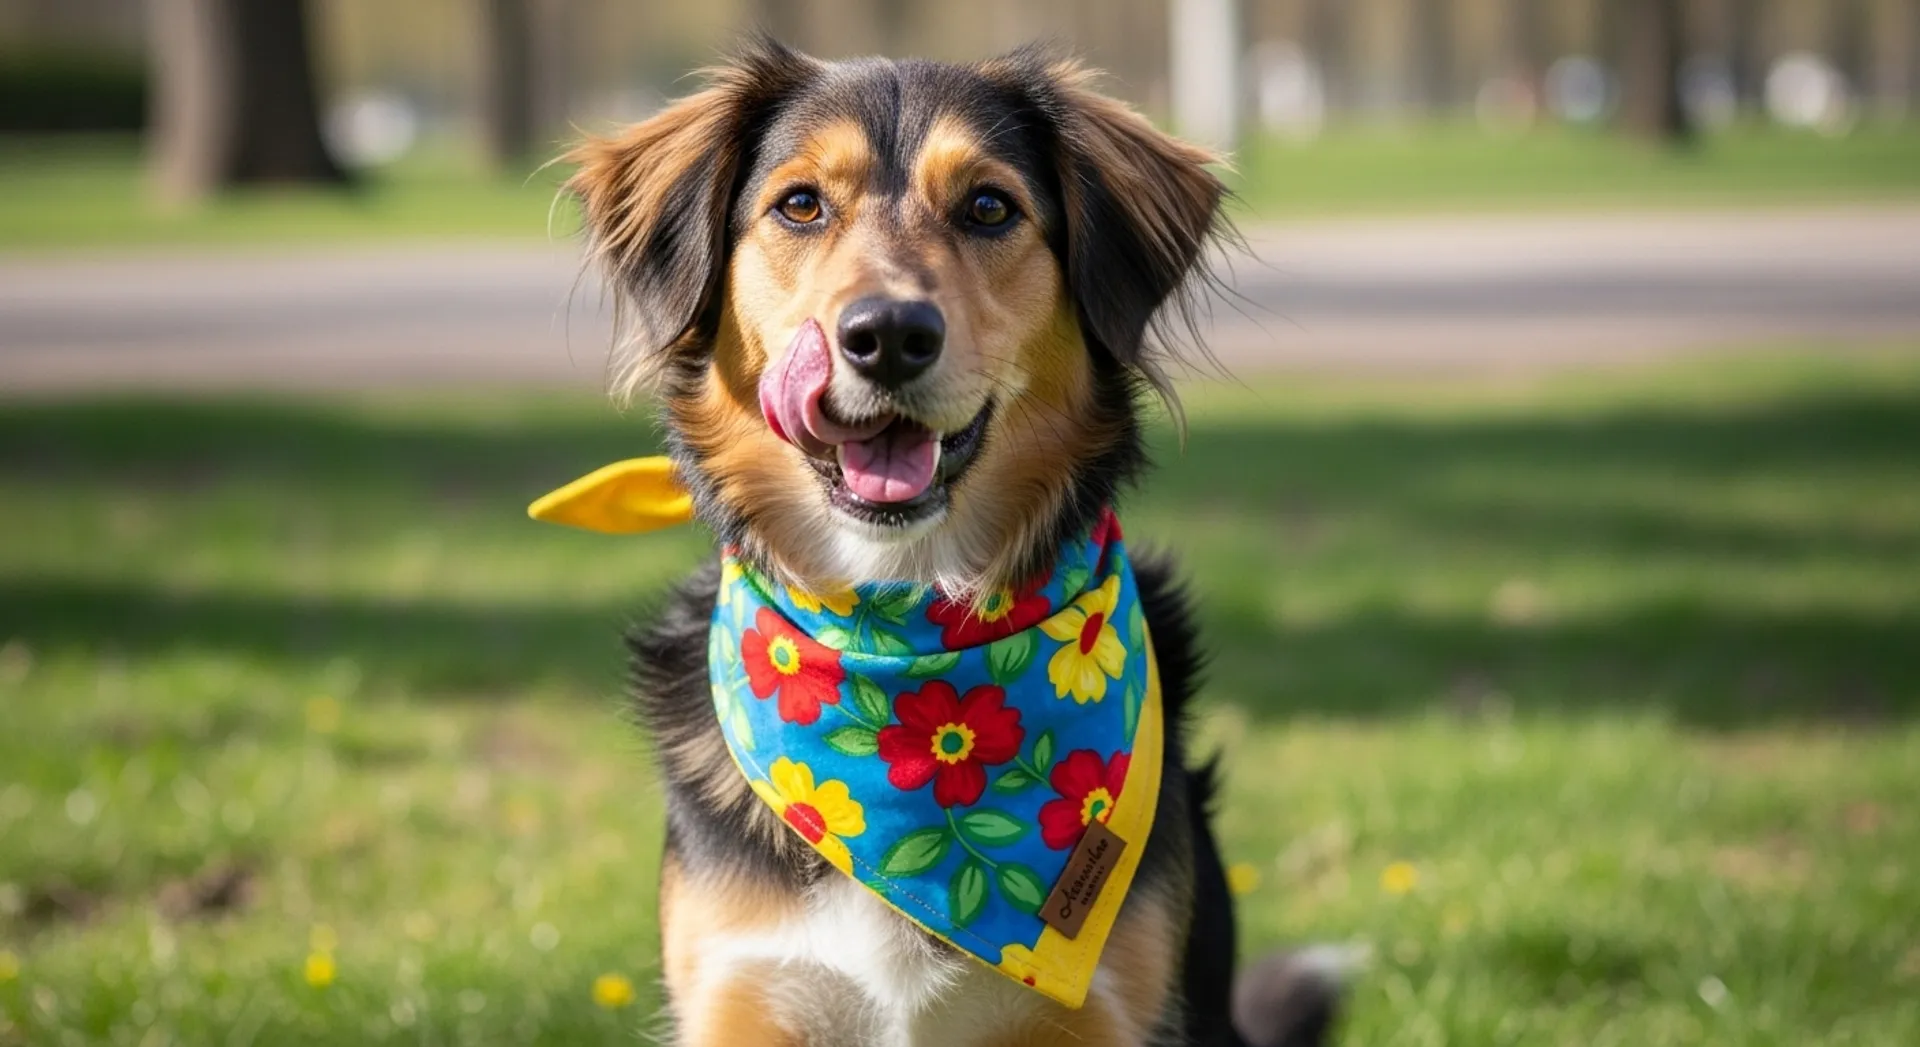
If you want a fast, satisfying project that looks professional and uses small fabric pieces, a reversible dog bandana is one of the best beginner-friendly options. It’s cute, practical for photos, easy to customize, and you can make multiple sizes without buying a complicated pattern. Plus, reversible means two looks in one—perfect for everyday wear on one side and a holiday print on the other.
This tutorial walks you through fabric choices, safe sizing, cutting, stitching, and finishing details that make your bandanas look clean (not “homemade in a rush”). You’ll also get tips to avoid common mistakes like bulky corners, twisted seams, and bandanas that slide around too easily.
Materials and Fabric Choices (What Works Best for Pets)
Before you cut anything, it’s worth choosing the right fabric. Some materials look cute but aren’t comfortable, breathable, or durable for pets. Your goal is soft, washable, and safe.
Best fabrics for a reversible bandana
For most dogs (and many cats), cotton quilting fabric is the easiest and most reliable choice. It presses well, sews cleanly, and comes in endless prints. Cotton poplin and cotton lawn also work nicely for a lighter feel.
Try to avoid very stretchy knits for your first bandana project. Knits can curl, stretch while sewing, and make crisp points harder. Also skip heavy upholstery fabrics—they can feel stiff and bulky around the neck.
Comfort and safety checklist
- Choose breathable fabric (cotton is ideal).
- Avoid scratchy glitter prints or rough textures.
- Wash fabric first to prevent shrinkage after sewing.
- Use non-toxic materials (no loose beads, sequins, or choking hazards).
Tools you’ll need
- Two coordinating cotton fabrics (fat quarters work great)
- Rotary cutter + mat (or scissors)
- Ruler or measuring tape
- Pins or fabric clips
- Sewing machine (or hand-sewing needle, if needed)
- Matching thread
- Iron/pressing tool
Step-by-Step: Sew a Reversible Dog Bandana That Fits
This tutorial uses a simple “triangle bandana with a collar channel” method. The collar slides through the top edge, which helps the bandana stay centered and reduces twisting. If your dog doesn’t wear a collar, you can tie it instead—but the collar channel is typically the easiest for daily use.
Step 1: Measure and choose a size
You can size bandanas by collar width or neck measurement. The easiest method is collar width, since the collar channel must fit comfortably.
Basic size guide (finished look):
- XS: small cats/tiny dogs (7–9 in neck)
- S: small dogs (10–13 in neck)
- M: medium dogs (14–17 in neck)
- L: large dogs (18–23 in neck)
- XL: extra-large dogs (24+ in neck)
Cutting tip: Bandanas look best when the point ends around the upper chest, not the belly. If you’re unsure, cut slightly larger and test the fold before stitching.
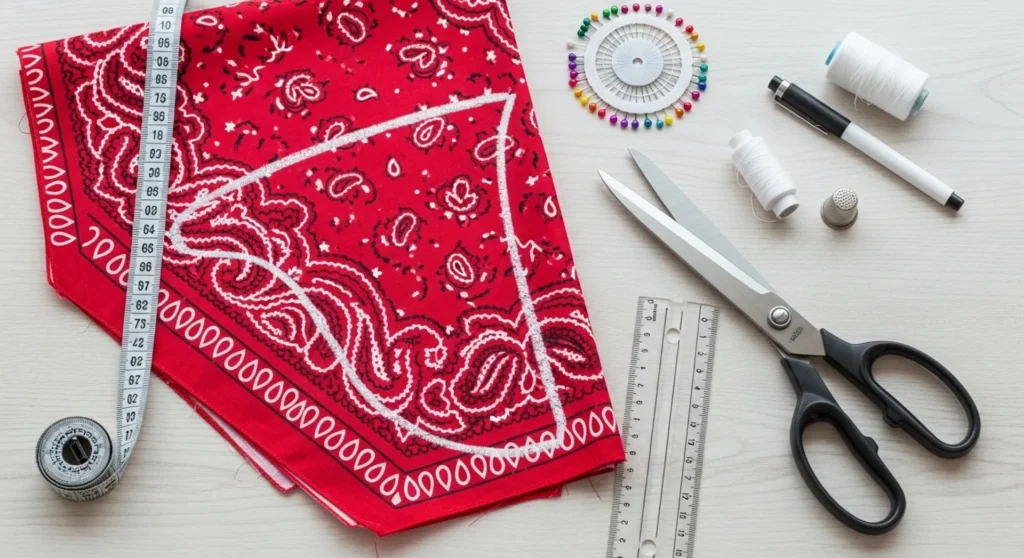
Step 2: Cut two triangles (one for each side)
Cut two identical triangles—one from each fabric. An easy way to do this is to cut a square and then cut it diagonally.
Suggested square sizes (then cut diagonally):
- XS: 10 x 10 in
- S: 12 x 12 in
- M: 14 x 14 in
- L: 16 x 16 in
- XL: 18 x 18 in
These sizes are a starting point. If your pet has a thick coat or wears a wide collar, you may want to go up one size.
Pro tip: reduce corner bulk
Sharp corners look best when they’re not packed with fabric. After stitching (later), you’ll trim the tip seam allowance and clip corners carefully. Don’t skip this—it’s the difference between a crisp point and a rounded “blob” point.
Step 3: Sew the two triangles together
Place the triangles right sides together. Pin or clip around the edges. Sew around the two long sides and the short top edge using a 1/4-inch seam allowance—but leave a 2–3 inch opening along one side for turning.
Backstitch at the start and end. Keep your stitching steady and consistent for clean edges.
Turning and pressing for a professional finish
Turn the bandana right side out through the opening. Use a chopstick or blunt tool to gently push out the corners (don’t poke too hard or you’ll tear the seam). Press the bandana flat with an iron and fold the opening edges inward so they match the seam line. Press again.
Step 4: Create the collar channel (and close the opening)
Fold the top edge down to form a channel wide enough for the collar. For most collars, folding down 1.5–2 inches works well. Pin in place, then topstitch along the folded edge to create the channel.
This topstitching will also close the turning opening automatically (as long as your opening is within the channel area). If your opening is on a side seam, stitch it closed first with a neat topstitch or a ladder stitch by hand.
Make sure the collar slides smoothly
Test the channel before you finish: slide the collar through. If it’s tight, unpick and sew a slightly wider channel. A too-tight channel causes bunching and makes the bandana sit awkwardly.
Fit Tips, Care, and Common Mistakes to Avoid
Your bandana is basically done—but the difference between “cute once” and “cute every time” comes down to fit and durability.
How to fit the bandana so it stays centered
If your dog’s bandana spins or twists, it’s usually because the bandana is too heavy, the collar is too loose, or the channel is too narrow. A collar channel generally prevents twisting better than tie-on styles, especially for active dogs.
Quick fixes:
- Use lighter cotton for small pets.
- Make the triangle slightly shorter if it pulls downward.
- Widen the collar channel for smoother movement.
- Ensure the collar fits properly (two-finger rule).
For pet safety basics (including collar fit), the ASPCA’s pet care resources are a solid authority reference: https://www.aspca.org/pet-care.
Wash and care instructions
Most cotton bandanas can be machine washed cold and air dried, or tumble dried on low. If you use dark prints, wash with similar colors. Pressing after drying keeps the bandana looking crisp.
If you plan to sell bandanas, prewashing fabric and using strong topstitching are important for long-term quality.
- How to Measure Your Dog for Sewing Projects
- Beginner Pet Sewing Projects You Can Finish in a Day
- How to Choose Safe Fabrics for Dog and Cat Accessories
Final takeaway: A reversible dog bandana is a fast project with a high “wow” factor. Choose breathable fabric, size it thoughtfully, press your seams, and build a collar channel that fits smoothly. Once you make one, you’ll start seeing endless possibilities—seasonal prints, matching sets, gift bundles, and themed accessories for every pet personality.